查看源代码 快速上手
让我们尽可能快地启动并运行一个 Phoenix 应用程序。
在我们开始之前,请花点时间阅读 安装指南。通过提前安装所有必要的依赖项,我们将能够顺利地启动和运行我们的应用程序。
我们可以从任何目录运行 mix phx.new 来引导我们的 Phoenix 应用程序。Phoenix 接受新项目目录的绝对路径或相对路径。假设我们的应用程序名为 hello,让我们运行以下命令
$ mix phx.new hello
默认情况下,
mix phx.new包含许多可选的依赖项,例如
Ecto 用于与数据存储(如 PostgreSQL、MySQL 等)通信。您可以使用
--no-ecto跳过此项。Phoenix.HTML、TailwindCSS 和 Esbuild 用于 HTML 应用程序。您可以使用
--no-html和--no-assets标志跳过它们。Phoenix.LiveView 用于构建实时交互式 Web 应用程序。您可以使用
--no-live跳过此项。阅读 Mix 任务指南 以了解可以排除的所有内容以及其他选项的完整列表。
mix phx.new hello
* creating hello/config/config.exs
* creating hello/config/dev.exs
* creating hello/config/prod.exs
...

Fetch and install dependencies? [Yn]
Phoenix 生成目录结构和应用程序所需的所有文件。
Phoenix 推广使用 git 作为版本控制软件:在生成的文件中,我们发现了一个
.gitignore。我们可以git init我们的存储库,并立即添加和提交所有未被标记为忽略的内容。
完成后,它会询问我们是否希望它为我们安装依赖项。让我们同意。
Fetch and install dependencies? [Yn] Y
* running mix deps.get
* running mix assets.setup
* running mix deps.compile

We are almost there! The following steps are missing:

    $ cd hello

Then configure your database in config/dev.exs and run:

    $ mix ecto.create

Start your Phoenix app with:

    $ mix phx.server

You can also run your app inside IEx (Interactive Elixir) as:

    $ iex -S mix phx.server
一旦我们的依赖项安装完毕,该任务将提示我们更改到项目目录并启动应用程序。
Phoenix 假设我们的 PostgreSQL 数据库将有一个名为 postgres 的用户帐户,该帐户具有正确的权限,密码为“postgres”。如果不是这样,请参阅 Mix 任务指南 了解有关 mix ecto.create 任务的更多信息。
好的,让我们试一试。首先,我们将 cd 到我们刚刚创建的 hello/ 目录
$ cd hello
现在我们将创建我们的数据库
$ mix ecto.create
Compiling 13 files (.ex)
Generated hello app
The database for Hello.Repo has been created
如果无法创建数据库,请查看 mix ecto.create 的指南以了解一般故障排除。
注意:如果这是您第一次运行此命令,Phoenix 可能会要求您安装 Rebar。继续安装,因为 Rebar 用于构建 Erlang 包。
最后,我们将启动 Phoenix 服务器
$ mix phx.server
[info] Running HelloWeb.Endpoint with cowboy 2.9.0 at 127.0.0.1:4000 (http)
[info] Access HelloWeb.Endpoint at https://:4000
[watch] build finished, watching for changes...
...
如果我们选择在生成新应用程序时不安装 Phoenix 依赖项,mix phx.new 任务将提示我们在想要安装它们时采取必要的步骤。
Fetch and install dependencies? [Yn] n

We are almost there! The following steps are missing:

    $ cd hello
    $ mix deps.get

Then configure your database in config/dev.exs and run:

    $ mix ecto.create

Start your Phoenix app with:

    $ mix phx.server

You can also run your app inside IEx (Interactive Elixir) as:

    $ iex -S mix phx.server
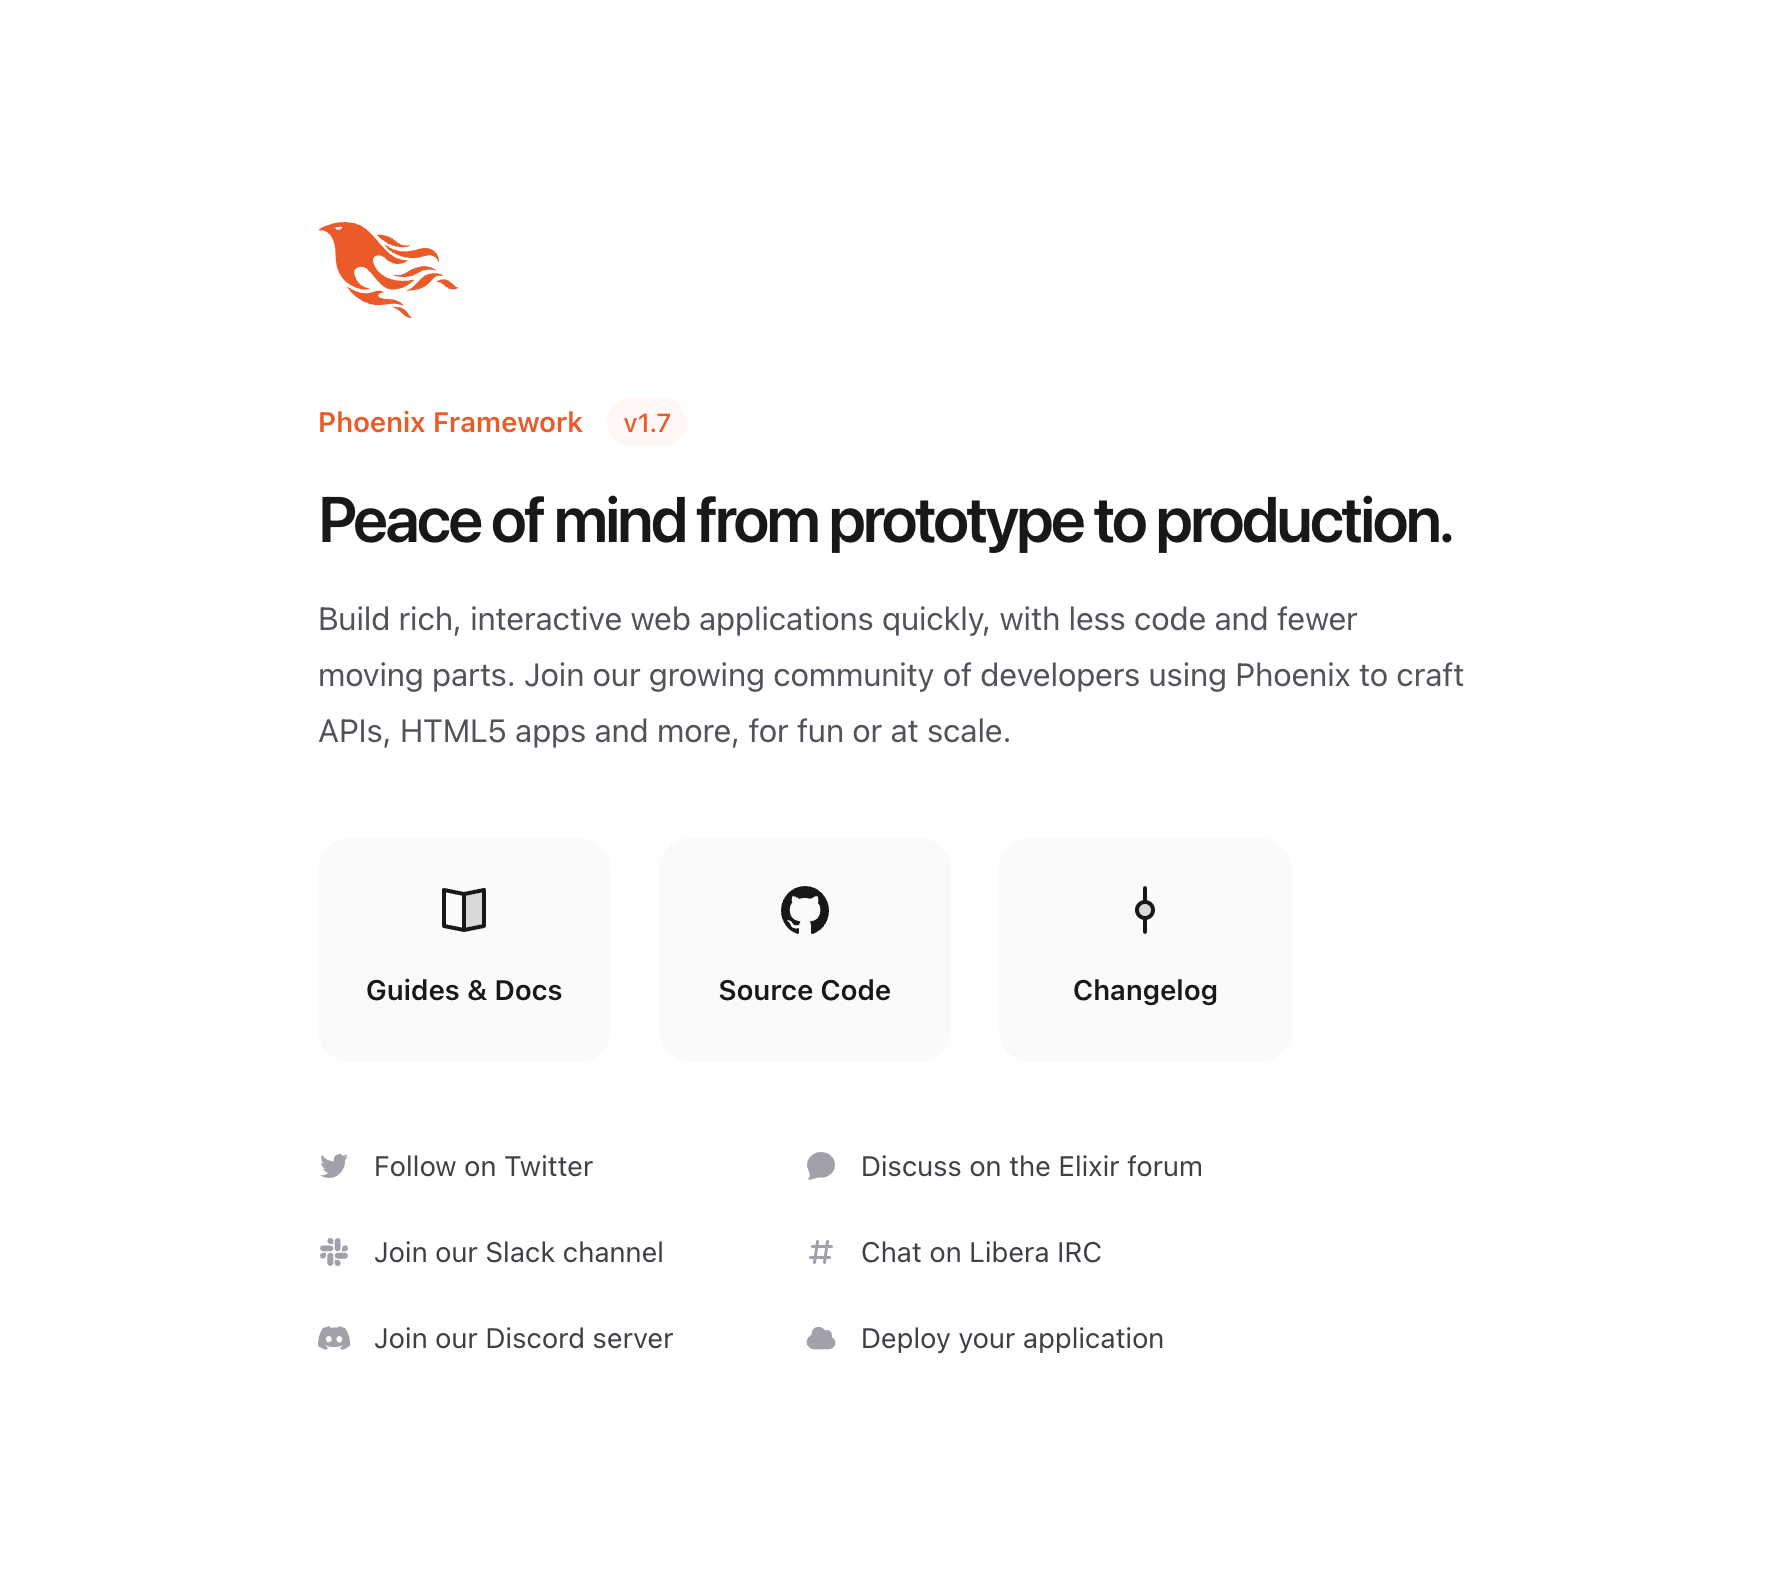
默认情况下,Phoenix 在端口 4000 上接受请求。如果我们将我们喜欢的 Web 浏览器指向 https://:4000,我们应该会看到 Phoenix Framework 的欢迎页面。

如果您的屏幕看起来像上面的图片,恭喜!您现在拥有一个可运行的 Phoenix 应用程序。如果您看不到上面的页面,请尝试通过 http://127.0.0.1:4000 访问它,然后确保您的操作系统已将“localhost”定义为“127.0.0.1”。
要停止它,我们按下 ctrl-c 两次。
现在您可以探索 Phoenix 提供的世界了!请参阅 我们的社区页面 以获取书籍、屏幕截图、课程等。
或者,您可以继续阅读这些指南,快速了解构成您的 Phoenix 应用程序的所有部分。如果是这样,您可以按任何顺序阅读指南,或者从我们的指南开始,该指南解释了 Phoenix 目录结构。